Effective presentations are not just about content; they’re also about visual impact. Designing custom templates in Microsoft PowerPoint allows you to establish a consistent and professional brand identity for your presentations. This article guides you through the process of creating personalized templates that reflect your brand and elevate the visual appeal of your slides.
1. **Define Your Brand Elements:**
Before diving into PowerPoint, define your brand elements. These may include your logo, color palette, fonts, and any visual elements that represent your brand. Having a clear understanding of these elements ensures consistency across your presentations.
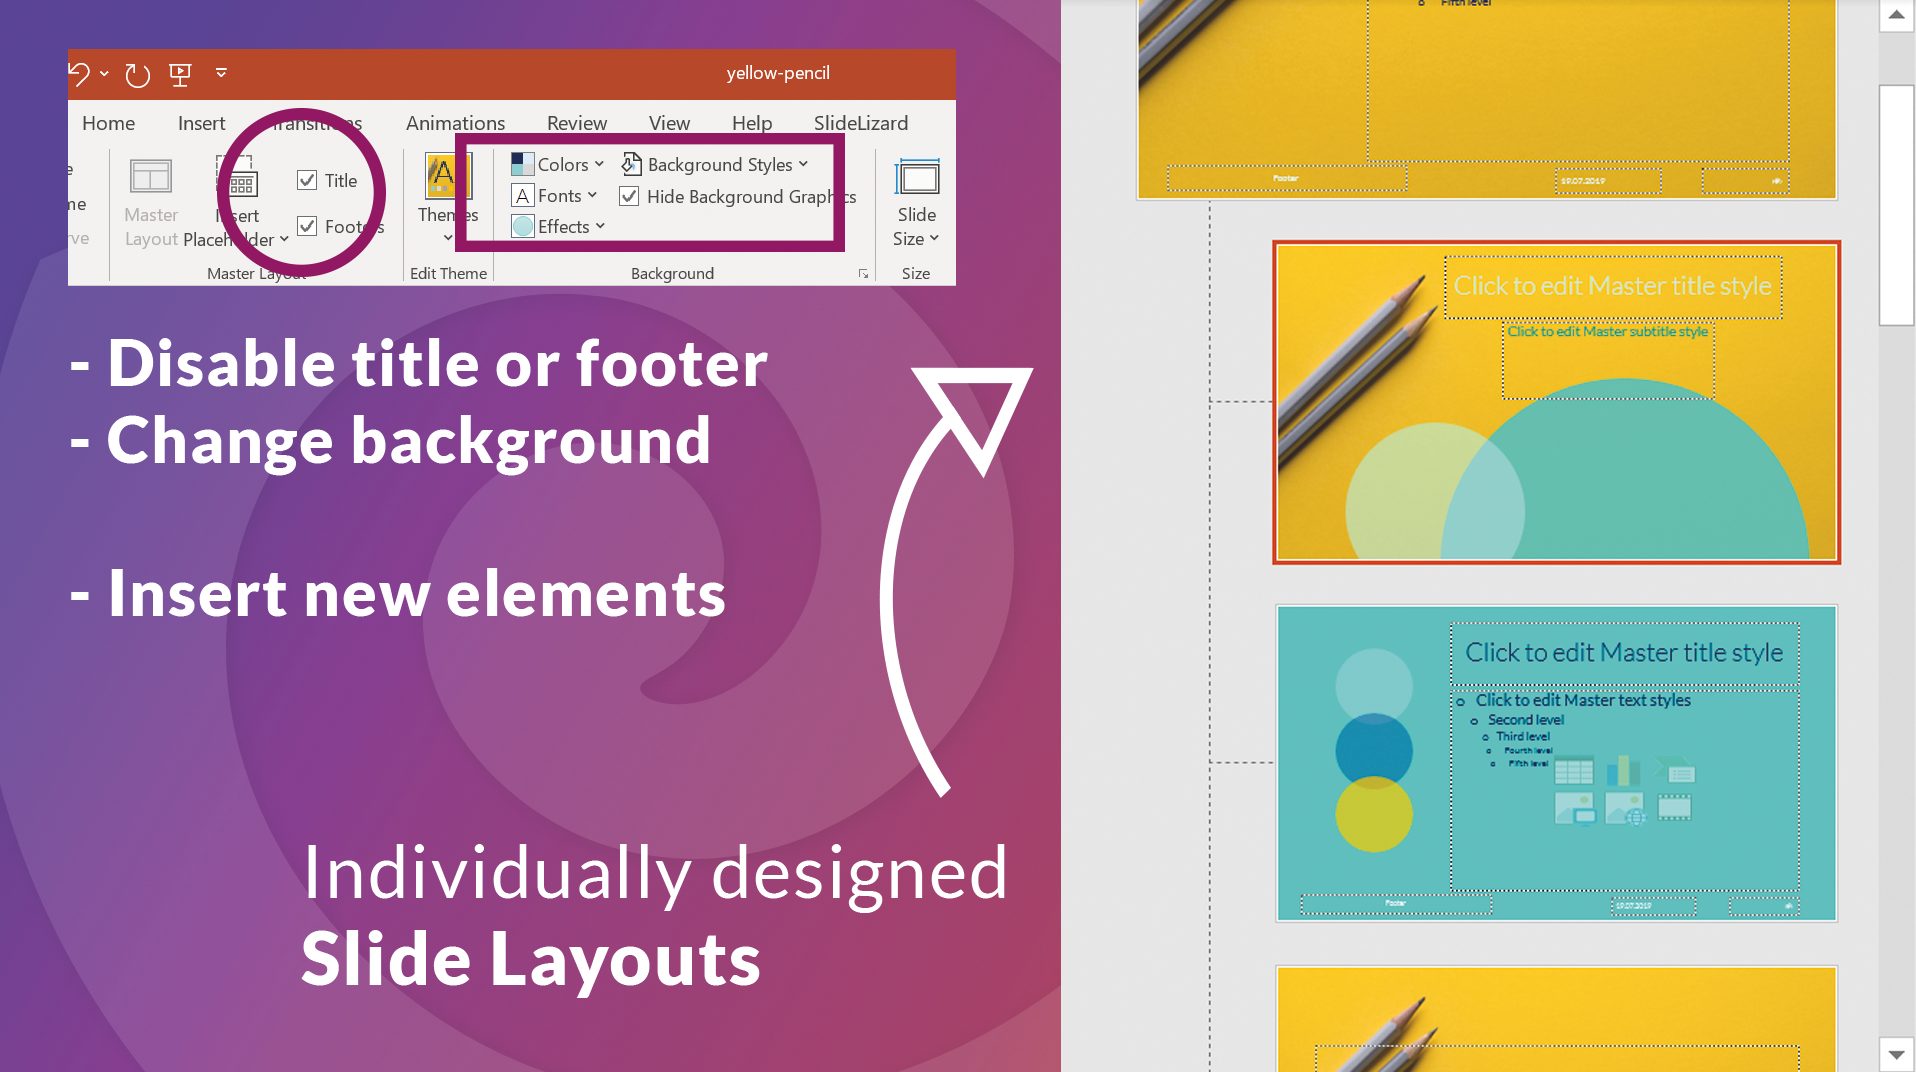
2. **Access Slide Master View:**
Open PowerPoint and create a new presentation. Navigate to the “View” tab and select “Slide Master.” The Slide Master view allows you to edit the layout, colors, fonts, and placeholders for all slides in your presentation.
3. **Customize Slide Layouts:**
In Slide Master view, customize the slide layouts to align with your brand. Modify the background, font styles, and colors. Insert your logo and position it where you want it to appear on each slide. Ensure that text placeholders are formatted according to your brand’s font guidelines.
4. **Set Color Scheme:**
Choose a color scheme that complements your brand. You can set a custom color palette in PowerPoint to ensure consistency. Select colors for text, background, accents, and links. Apply these colors to the various elements on your slides using the options available in Slide Master view.
5. **Define Font Styles:**
Specify the fonts that align with your brand’s typography. Set the title font, body text font, and any additional styles you want to use in your presentations. Consistent font usage contributes to a polished and professional appearance.
6. **Create Custom Slide Backgrounds:**
Design custom slide backgrounds that enhance your brand identity. This could involve using a textured background, incorporating gradients, or featuring brand-specific patterns. Experiment with designs that complement your content without overshadowing it.
7. **Insert Branded Graphics and Icons:**
Enhance your slides with branded graphics and icons. These could be elements from your logo, custom illustrations, or icons that align with your brand aesthetic. Insert these elements thoughtfully to maintain a cohesive visual language.
8. **Add Branding to Headers and Footers:**
Ensure that your branding extends to headers and footers. Include your logo, presentation title, or other relevant information in the header. Customize the footer with your brand’s tagline or any additional information you want to include on each slide.
9. **Save as a Template:**
Once you’ve customized the Slide Master and individual layouts, save your presentation as a template. Go to “File” > “Save As” > “Browse.” Choose the location where you want to save the template, select “PowerPoint Template (*.potx)” as the file format, and click “Save.”
10. **Apply Your Custom Template:**
Now that you’ve created your custom template, you can apply it to new presentations. Open PowerPoint, go to “File” > “New,” and select “Custom” under the “Personal” tab. Choose your custom template, and start building your presentation with a consistent and branded look.
Conclusion:
Designing custom templates in PowerPoint allows you to infuse your presentations with a distinctive brand identity. By incorporating your logo, color palette, fonts, and other visual elements, you create a cohesive and professional look that reinforces your brand with every slide. Consistent branding not only enhances visual appeal but also communicates a sense of professionalism and attention to detail to your audience.